Planning a DIY Tile Project? Read This First!
Taking on a DIY tile project can be a rewarding way to personalize your space — and save money in the process! Whether you’re updating a kitchen backsplash, laying a bathroom floor, or tackling your first mosaic wall, a little preparation goes a long way toward a beautiful result.
Step-By-Step Guide to Help You Plan, Prepare, & Enjoy Your Tile Project with Confidence

1. Start with the right mindset
DIY tile projects can be seriously satisfying. Even a small tile project job can make a huge impact in your home! But they take patience and planning, so keep this in mind as you get started.
☛ Go in with realistic expectations. Even small projects take time to prep, cut, and cure properly.
☛ Expect to learn as you go. Mistakes happen, and that’s okay — they’re part of the process.
☛ Prioritize safety and precision. Take your time measuring and use proper protective gear (especially eye protection when cutting).
Remember: tile is durable and forgiving — it rewards careful, thoughtful work over speed.
2. Plan your project before you pick up a trowel
Perhaps the most important piece of advice in this article — a solid plan helps you avoid frustration (and an unexpected budget increase) halfway through the job.
Measure carefully. And then measure AGAIN! No, seriously — if you’re not a pro, measure more than once. You’ll thank us later. Calculate your square footage and add 10–15% for waste and cuts.
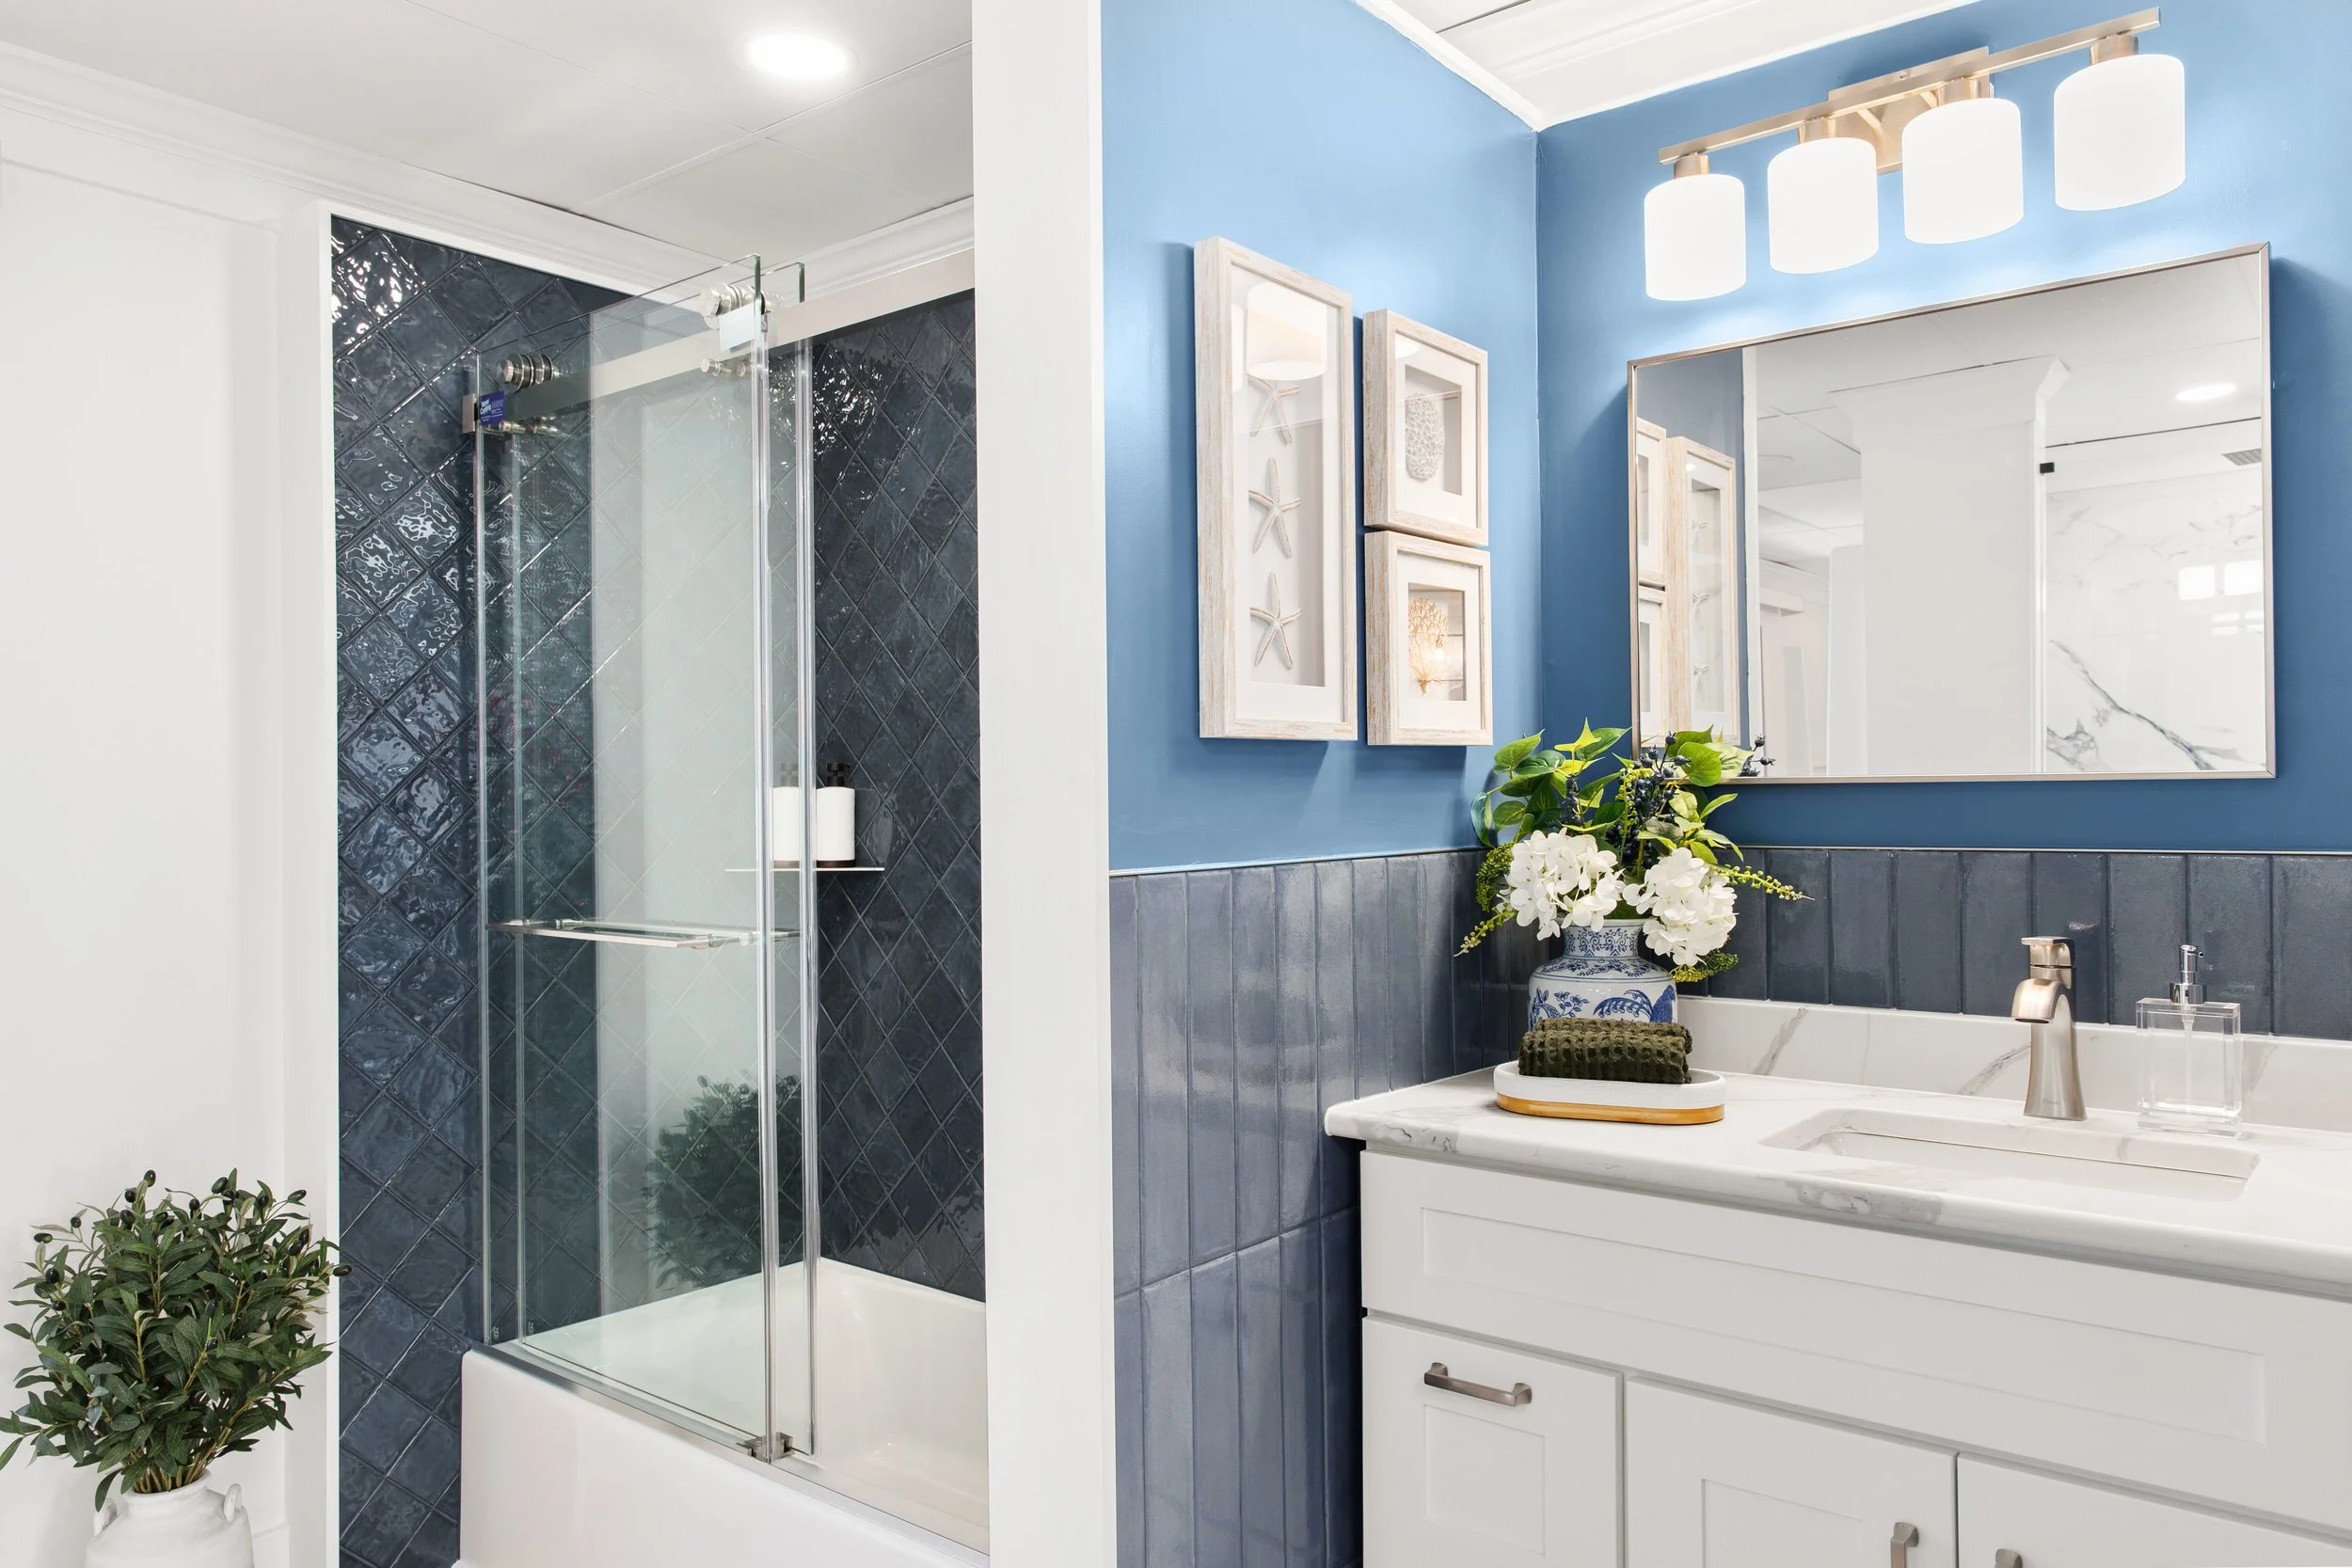
Choose your tile type. Porcelain is great for floors, ceramic works well on walls, and textured finishes help prevent slips in wet areas. Feel free to come check out the tile in our showroom if you need some inspiration.
Think through your pattern. Classic subway, herringbone, diagonal — try a dry layout first to visualize spacing and color variation. Take photos of various layouts with your phone to see how the overall design will look.
Gather your tools. You’ll need a notched trowel, spacers, level, wet saw (or tile cutter), grout float, bucket, sponge, and drop-cloth to protect surrounding areas.
You can pick up these materials at most local hardware stores, big box stores, or online. To see and feel tile in person, stop by a local tile showroom — it’s a great place to get ideas and ask questions before you buy.
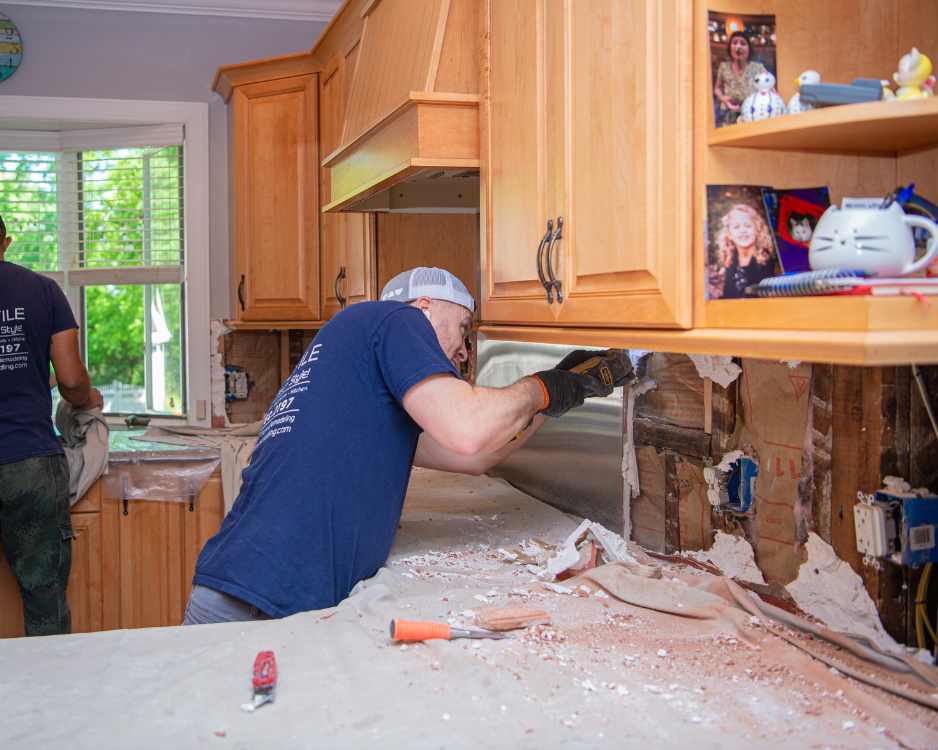
3. Prep your surface — it matters more than you think
The best tile job starts with a flat, clean, and stable surface. It may seem time-consuming, but skipping the prep will come back to haunt you by ruining all your hard work. So take the time to do it right by:
✔ Removing any old flooring or backsplash materials completely.
✔ Repairing cracks or dips in the subfloor.
✔ Using a cement backerboard or approved tile substrate.
✔ Wiping down surfaces before applying adhesive.
A few extra hours in preparation can prevent issues like cracked tiles or uneven grout lines later on.
4. Set, space, and stay steady
➪ Use The Right Thinset
Choose one rated for your tile and surface type.
➪ Apply In Small Sections
Thinset dries quickly — work in manageable areas.
➪ Mind Your Spacing
Tile spacers are non-negotiable — they help maintain clean, even lines.
➪ Check Your Level
Use a small bubble level every few rows. Check that your work is level as you go to avoid uneven lines and tricky corrections later.
If you notice small gaps or crooked tiles, gently adjust before the thinset sets. Small tweaks now save big fixes later.
5. Grouting and finishing touches
Once the adhesive has cured (usually 24 hours — check your product’s packaging to be sure), it’s time for grout:
Mix grout according to instructions. You want smooth, not runny.
Apply diagonally across the joints with a rubber float.
Wipe excess grout with a damp sponge before it dries.
After drying, polish the surface and apply sealer if needed.
Pro tip: Keep a few extra tiles stored away for future repairs — you’ll thank yourself later.
6. Know when to get a little guidance
Even the most determined DIYers sometimes need a hand — and that doesn’t mean handing over the whole project. If you hit a snag (like an uneven floor, shower waterproofing, or a tricky layout), a quick consult with a professional can help you troubleshoot and stay on track.
CT Tile & Remodeling offers free in-home estimates and welcomes DIY homeowners to explore materials and tools at our tile showroom. Sometimes all you need is a bit of expert guidance before you dive back in with confidence.
7. Enjoy the process
There’s something deeply rewarding about stepping back and admiring tile work you did yourself. Each cut, grout line, and perfectly placed tile reflects your patience and creativity (and possibly your blood, sweat, and tears).